If you want to join someone else’s Roblox game, use Roblox Player. If you want to build or edit a game, use Roblox Studio. Opening the wrong application can make an ordinary task look much more complicated than it is. You do not need to learn the Studio editor before playing.
Roblox describes Studio as its creation environment for building, scripting, testing, and publishing games. It is available separately from the player application. The official Studio overview explains that role; our installation and play guide covers the player route.
Choose by the task in front of you
Imagine a friend sends you a link to a racing game. Your immediate goal is to enter that race. A page full of parts, panels, and building tools is a sign you have followed a creator workflow instead. Return to the game’s ordinary Roblox page and use its play option.
Now imagine you want to move the starting line, change the track, or add your own checkpoints. Those are creation tasks. They belong in your own Studio project, where you have editing access. Playing a public game does not give you access to its creator’s editable project.
- Join a game or spend time with friends: start with Player.
- Arrange objects or write game logic: start with Studio.
- Try a game you are making: use Studio’s testing tools during development.
- Check what the released version feels like: use the normal player route when its access settings permit it.
A Studio test is part of development
A creator often switches between building and testing several times in one session. The useful habit is to state what you are checking before starting a test: can a character reach the next platform, read the sign, or find the exit? That question gives the session a purpose.
Roblox provides different Studio testing modes, including tests with a character and simulation without one. A game looking correct in the editor is not enough to establish that its rules work during play. Likewise, one successful solo test is not evidence that multiplayer behavior works. Our guide to choosing a test mode explains the differences.
You can explore creation without a huge project
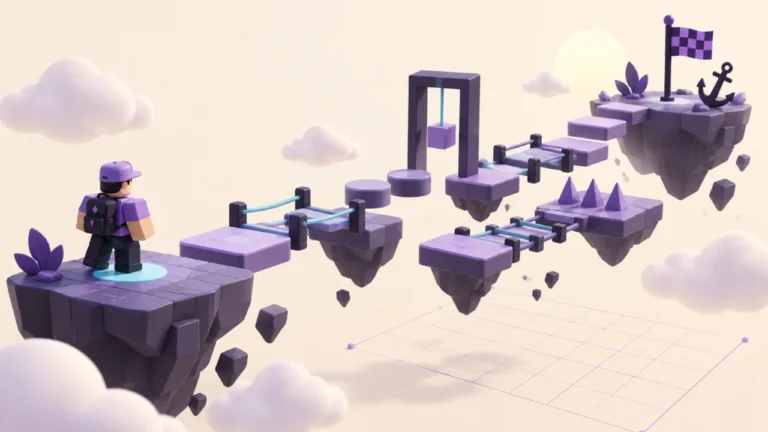
If you are curious about building, start with a tiny task: make a platform, change its color, and stand on it in a test. That is a manageable first session. Recreating a complete game you admire introduces too many unfamiliar problems at once.
Keep the first project separate from any important work. Give it a name that makes its purpose obvious, such as a practice course. Write down one thing you understand and one thing you still want to learn when you finish. Small, completed experiments are easier to revisit than a large scene containing unexplained assets.
Use the correct download route
Get Studio through Roblox’s own creation pages. Its setup guide lists the supported computer requirements and official installation process. A device that can run Player is not automatically suitable for the full Studio editor; compare the requirements for the application you actually need.
You do not need an unofficial extension, a paid unlock, or a stranger’s executable to start a basic creation project. If you are on a managed school or work device, ask its administrator about installation instead of trying to get around the device’s controls.
Decide on one next step
For a player, the next useful milestone is opening a game successfully and understanding its controls. For a new creator, it is opening Studio and recognizing the viewport, Explorer, and Properties. Follow the Studio setup checklist when you are ready to build. You can learn the editor gradually while continuing to enjoy Roblox as a player.
Official sources reviewed September 13, 2026. This guide is based on documentation research, not a claim of hands-on testing. Qrajo is independent of Roblox. Featured artwork is an original illustration. Read our editorial policy.