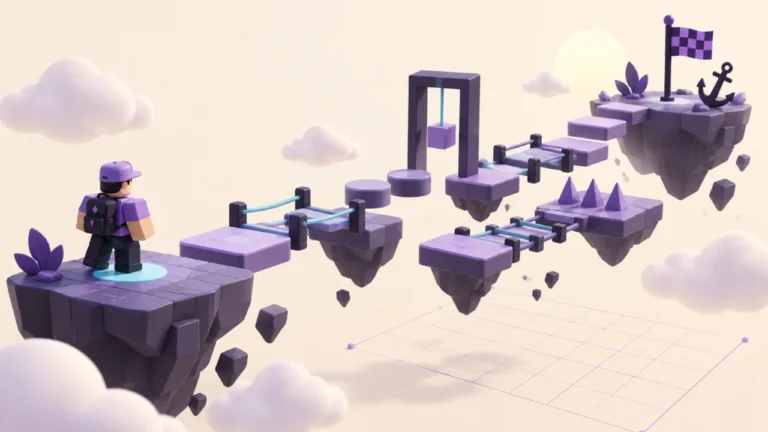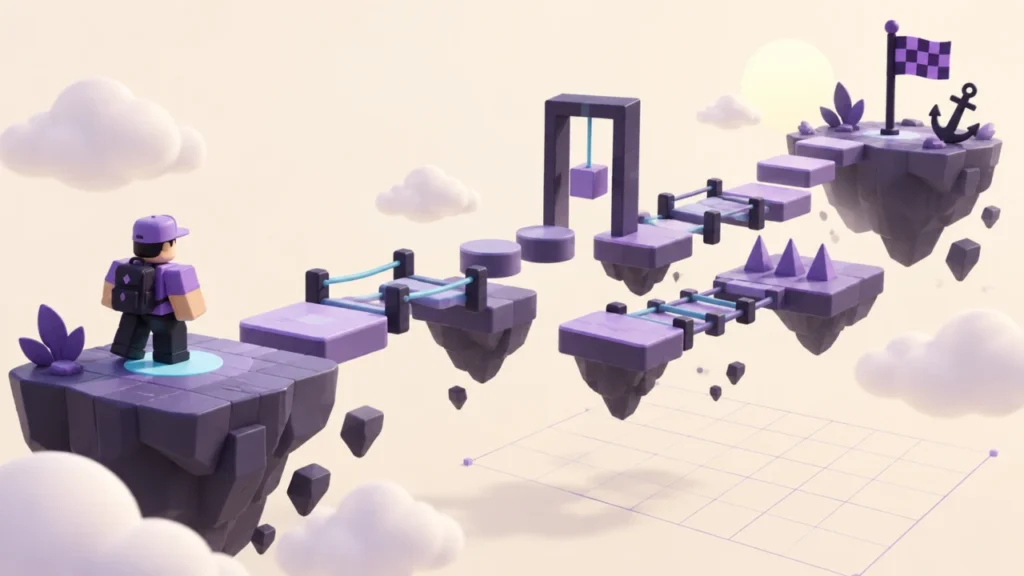
Build this five-platform practice course to learn placement, anchoring, spawning and route testing. The table gives you exact starting values; you then adjust the course using your own playtest results. No scripts, paid assets or public release are needed.
Prepare a practice copy
Start with a separate Baseplate project and save it before editing. Keep the ground below the course so a missed jump has a place to land. This first exercise does not implement automatic checkpoints, a kill floor or a victory screen. Returning to the start is part of the test, not a finished game loop.
Insert block Parts using Studio’s Part tool. Select one object at a time in Explorer and use the Properties window for the values below. Size and Position use X, Y, Z order. Leave Orientation at 0, 0, 0 and set Anchored and CanCollide to true for all five platforms.
Build the five-platform layout
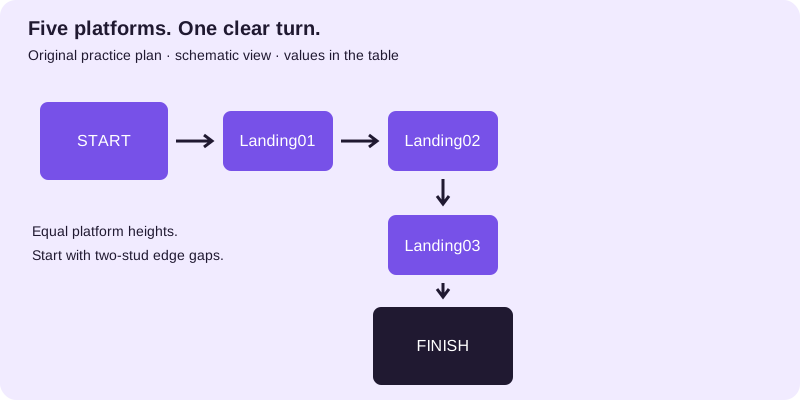
| Object name | Size X, Y, Z | Position X, Y, Z | Gap from previous edge |
|---|---|---|---|
| Start | 12, 1, 12 | 0, 8, 0 | — |
| Landing01 | 8, 1, 8 | 12, 8, 0 | 2 studs |
| Landing02 | 8, 1, 8 | 22, 8, 0 | 2 studs |
| Landing03 | 8, 1, 8 | 22, 8, 10 | 2 studs |
| Finish | 12, 1, 12 | 22, 8, 22 | 2 studs |
The two-stud gaps are a design starting point, not a certified difficulty rating. For example, Start ends at X = 6; Landing01 starts at X = 8, leaving two studs between their edges. The height stays constant so you can investigate one thing at a time. Roblox’s building lesson explains the underlying part tools.
Download the platform values (CSV). The file is a reference table, not an executable script or a Studio project.
Place the start and check the turn
Add one SpawnLocation in this practice copy. Set its Size to 6, 1, 6 and Position to 0, 9, 0; its bottom then meets the top of Start. Use the single-spawn setup before testing. Name the objects as shown so a failed jump has an unambiguous location.
Use a different material or clearly contrasting colour for Finish. Keep the path unobstructed. At Landing02, the route turns along Z instead of continuing along X. Check that a new player can see Landing03 without being told where it is.
Test and change one variable
- Start a normal character Test from the spawn and attempt the complete route.
- Record the first failed or confusing transition by both platform names.
- Stop the test. If a landing is difficult, enlarge that landing while keeping its centre fixed, or reduce its gap. Change only one of those values.
- Repeat from Start and record whether the same problem remains.
- Once the route is clear, save that version before adding decoration.
If a platform itself falls, use the anchoring experiment. If the character passes through a platform that stays still, use the collision experiment. These are different failures and should not be tuned as jump difficulty.
Record the result
Copy this note for each change: “Project version: __. Transition: __ to __. Starting values: __. Observed problem: __. One change: __. Result on the next full route attempt: __.” Leave untested results blank. The exercise is complete when you can explain each platform’s purpose and identify the cause of a failed attempt.
Updated September 22, 2026: Added a reproducible five-platform layout, diagram, CSV and route-testing procedure. Official references were checked for this revision. The exercises are original practice designs, not reports of gameplay testing. Qrajo is independent of Roblox. Editorial policy · Report a correction.